
So, I thought I'd try this doing a Photoshop tutorial since doing the stencils from a regular picture is very difficult - - deciding what to cut and what not to cut. Kudos to Little Black Kitty for putting this together. So, what I did was to first find a decent picture of myself. That's easier said than done - - I think once you become a mom there really are no longer many pictures of yourself since the mom is the one behind the camera, usually. But, I did have a few that I took while fooling around with the Photo Booth application on my Mac. But, even then, not all pictures work well with Little Black Kitty's method. Most of the pictures that I had didn't have enough light on my face, I think, to make my features stand out. But, I did finally settle on this picture:

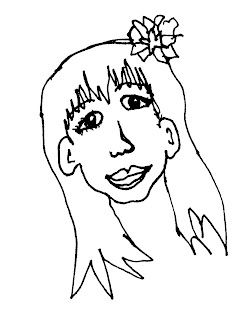
So, after fooling around with it in Photoshop, this is the image that I had to work with:


I printed the image on regular cardstock. I didn't take a scan of the "virgin" stencil, but here it is after playing around with it a few times:


And, finally, here is an image made using the stencil and StazOn ink that I applied with a sponge paint brush:


I do like the ease of using Photoshop, but I think that the detail was clearer in the stencils that I created. Of course, I could have veered from the Photoshop image a bit to give some more definition in my face, but I wanted to see what it would look like if I just cut all the black off. It's dramatic, but maybe a bit too dark? I think that I need to work on the definition around the eyes a bit more. There were white parts in the eyes of the photoshop image that were lost due to the fact that they were entirely surrounded by black and were therefor lost in the middle. But, still, I worked with this stencil and here's my ATC card:


Using the stencil, I applied the StazOn ink on plain newsprint paper. I like using newsprint when I want something to look a bit rustic - - I think it softens up the image. I then applied some stamps using dye-based stamp ink and also acrylic paint on the stamps. I chose a stamp of a non-descript cursive background, peacock feather and a stamp of a mandala. Using stippling brushes, I brushed on color in specific spots on the card. The card still needed something and I thought that defining areas of my face, as if applying make-up might work out. So, using colored pencils I defined my eyes and my lips. Finally, I used Inkadinkado blending chalks as if applying blush to my cheeks. Finally, I finished off the edges, bleeding it onto the front of the card a bit with more StazOn ink.
